

I did these canvases for my entry wall and have received a ton of compliments...but even more inquiries on how to do them. So...we decided to make it our first tutorial! Below is the step-by-step process on the do-it-yourself canvas prints that won't break the bank. When I first saw this tutorial on Pinterest, I tried a small canvas to experiment with and quickly found out air bubbles are not your friend. With that being said, I modified one step which results in zero air bubbles. So grab your Mod Podge and enjoy!
What You Will Need:
Canvas
Printed Picture
Acrylic Paint (I used black)
2 Foam Brushes (large and good quality)
Matte Mod Podge
Step 1:
Decide on the size of canvas print you want. I opted for a
24” x 30” with a 1.5” depth. The 1.5” depth looks much more expensive and like
a real canvas as opposed to a 0.5” thickness which looks more like a foam
board. (For the purpose of the tutorial, I used an 8" x 10" canvas). I got the best price for canvases at Hobby Lobby. I took my husband and
one-year-old daughter in so I could use three 40% off coupons. I have no shame.
The canvases were $44.99 each plus 40% off for a total of $27 per canvas. (FYI: The cheapest 24" x 30" canvas prints I found were $104 plus shipping...yikes).

Step 2:
Print the photo you wish to use. I’ve found Walgreens has
superior quality photos than Sam’s Club, Costco, and Staples. They frequently
have 50% off, so go on their website frequently and look for the coupon code.
If you want to have a larger print, it will be under the “poster” section. I
had them print my picture 24” x 36”, then cut it down since they didn’t offer a
24” x 30” poster print.

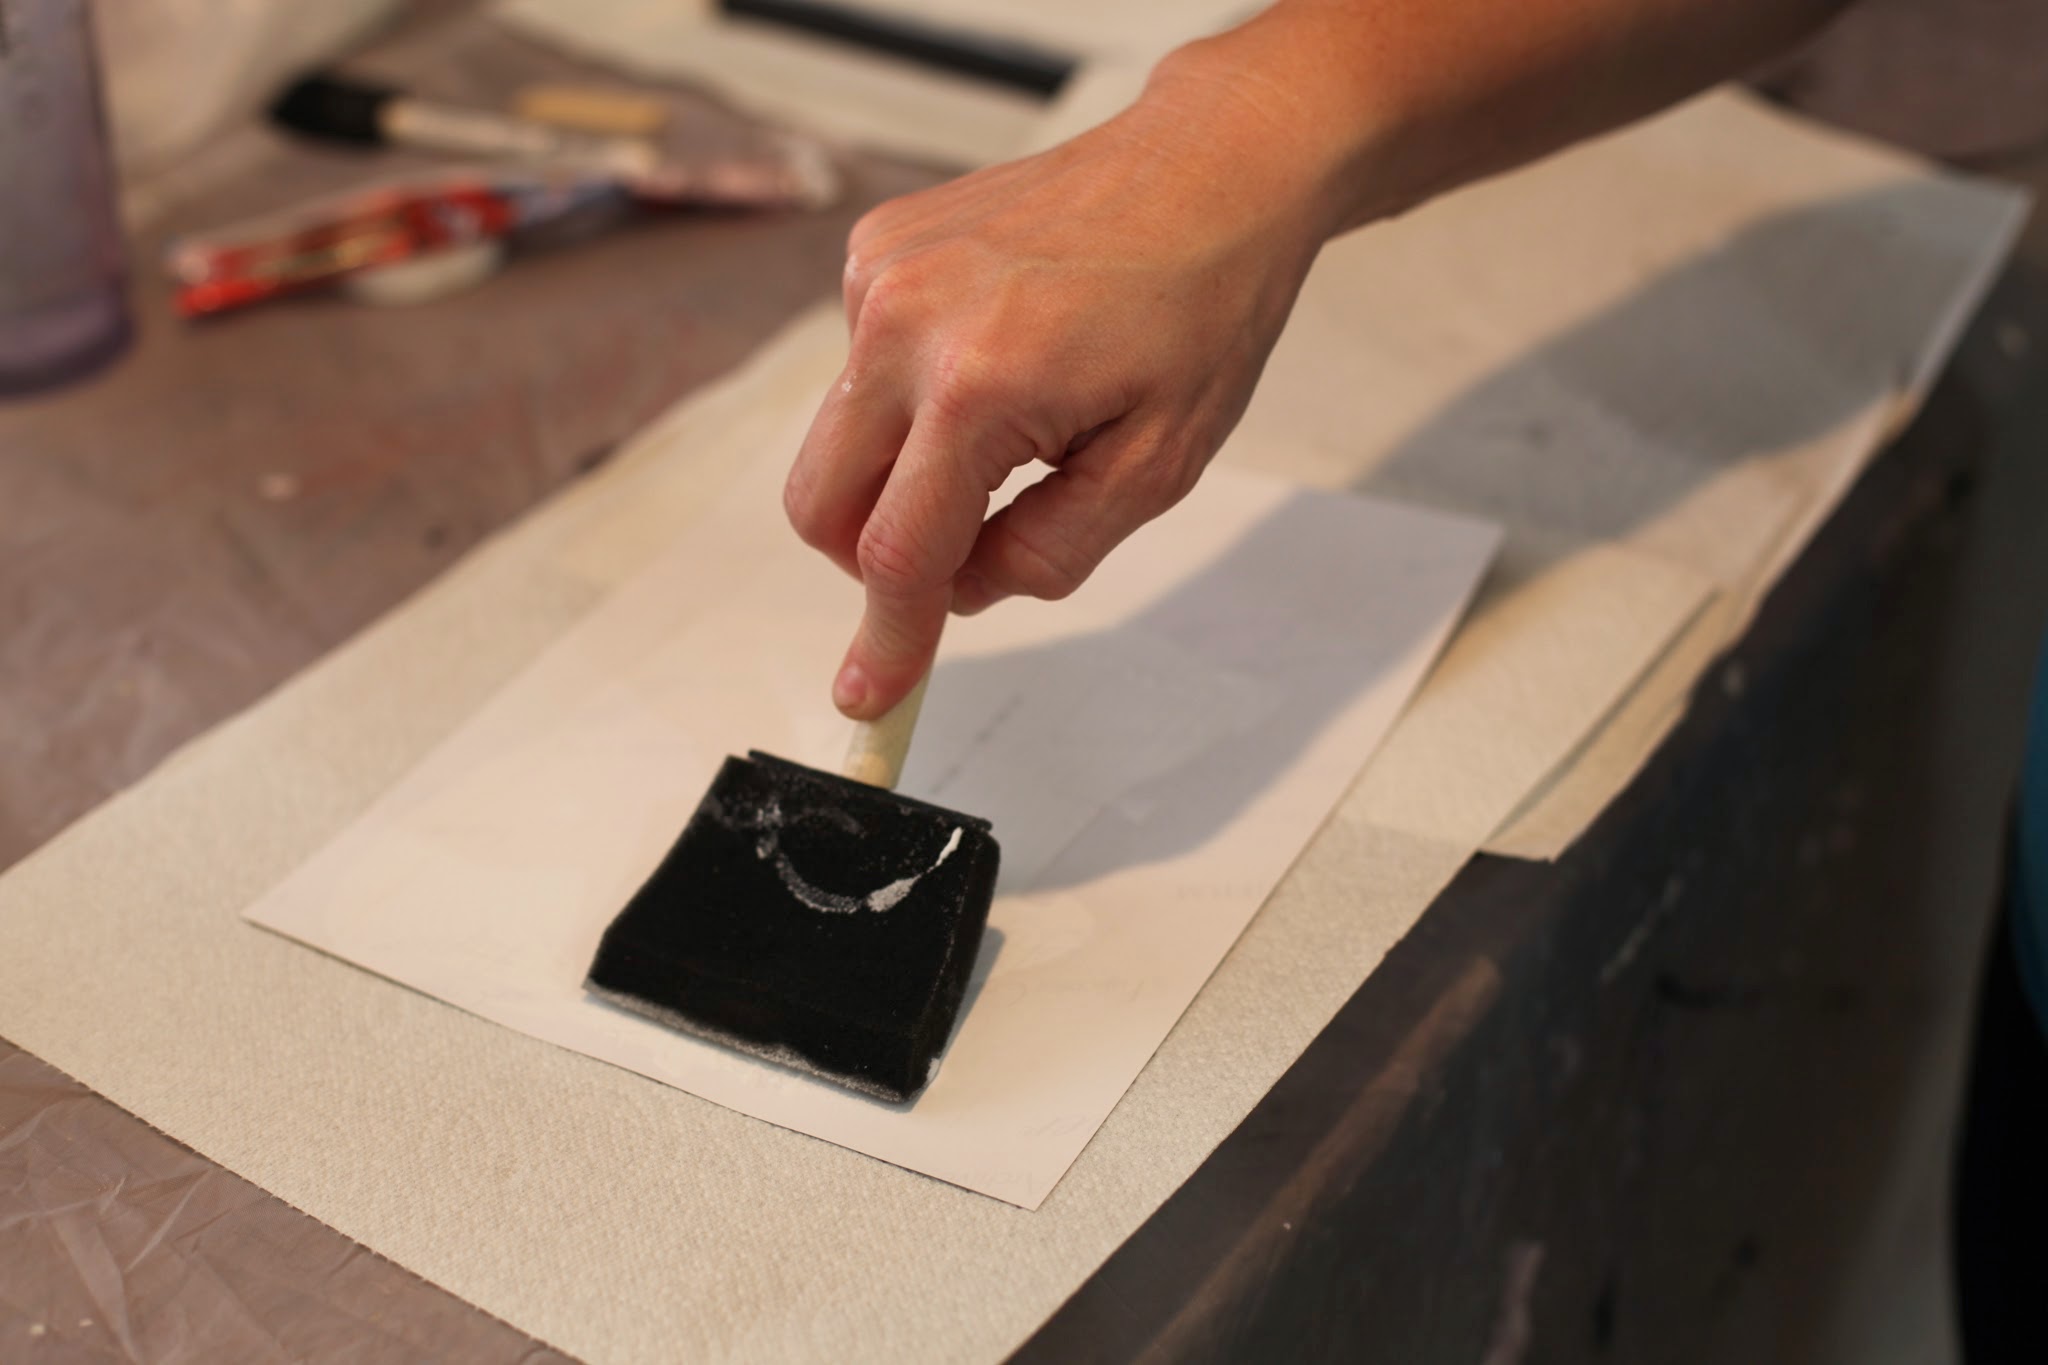
Step 3:
Now that you have all your supplies, you’re ready to go! Paint
the sides and a little bit of the front of the canvas using a foam brush. I
didn’t want it to be noticeable that I wasn’t wrapping the canvases, so I opted
for black paint. It looks very sharp and clean and looks professional. Let the
paint dry for 5 minutes.


Step 4:
While the canvases are drying, trim the picture as necessary
to fit the canvas. I used an exacto knife. We did not have to trim the picture for this specific one.
Step 5:
You’re ready to Mod Podge it up now! This is where we focus
on not having bubbles. I must have read a half dozen tutorials on making these
and none of them were air-bubble proof because they only instructed the viewer
to Mod Podge either the canvas OR the back of the print. No, no, no…that makes
for air bubbles. Using a foam brush, liberally paint Mod Podge onto the canvas.
Be sure to focus on the corners. Make
sure to wipe any Mod Podge that leaks onto the sides as thick globs will dry on
noticeably.


Step 6:
Mod Podge the backside of the picture. Make sure the picture is on a clean surface
since the front of it will be touching the surface. Try to be somewhat quick so the Mod Podge on
the canvas doesn’t dry.
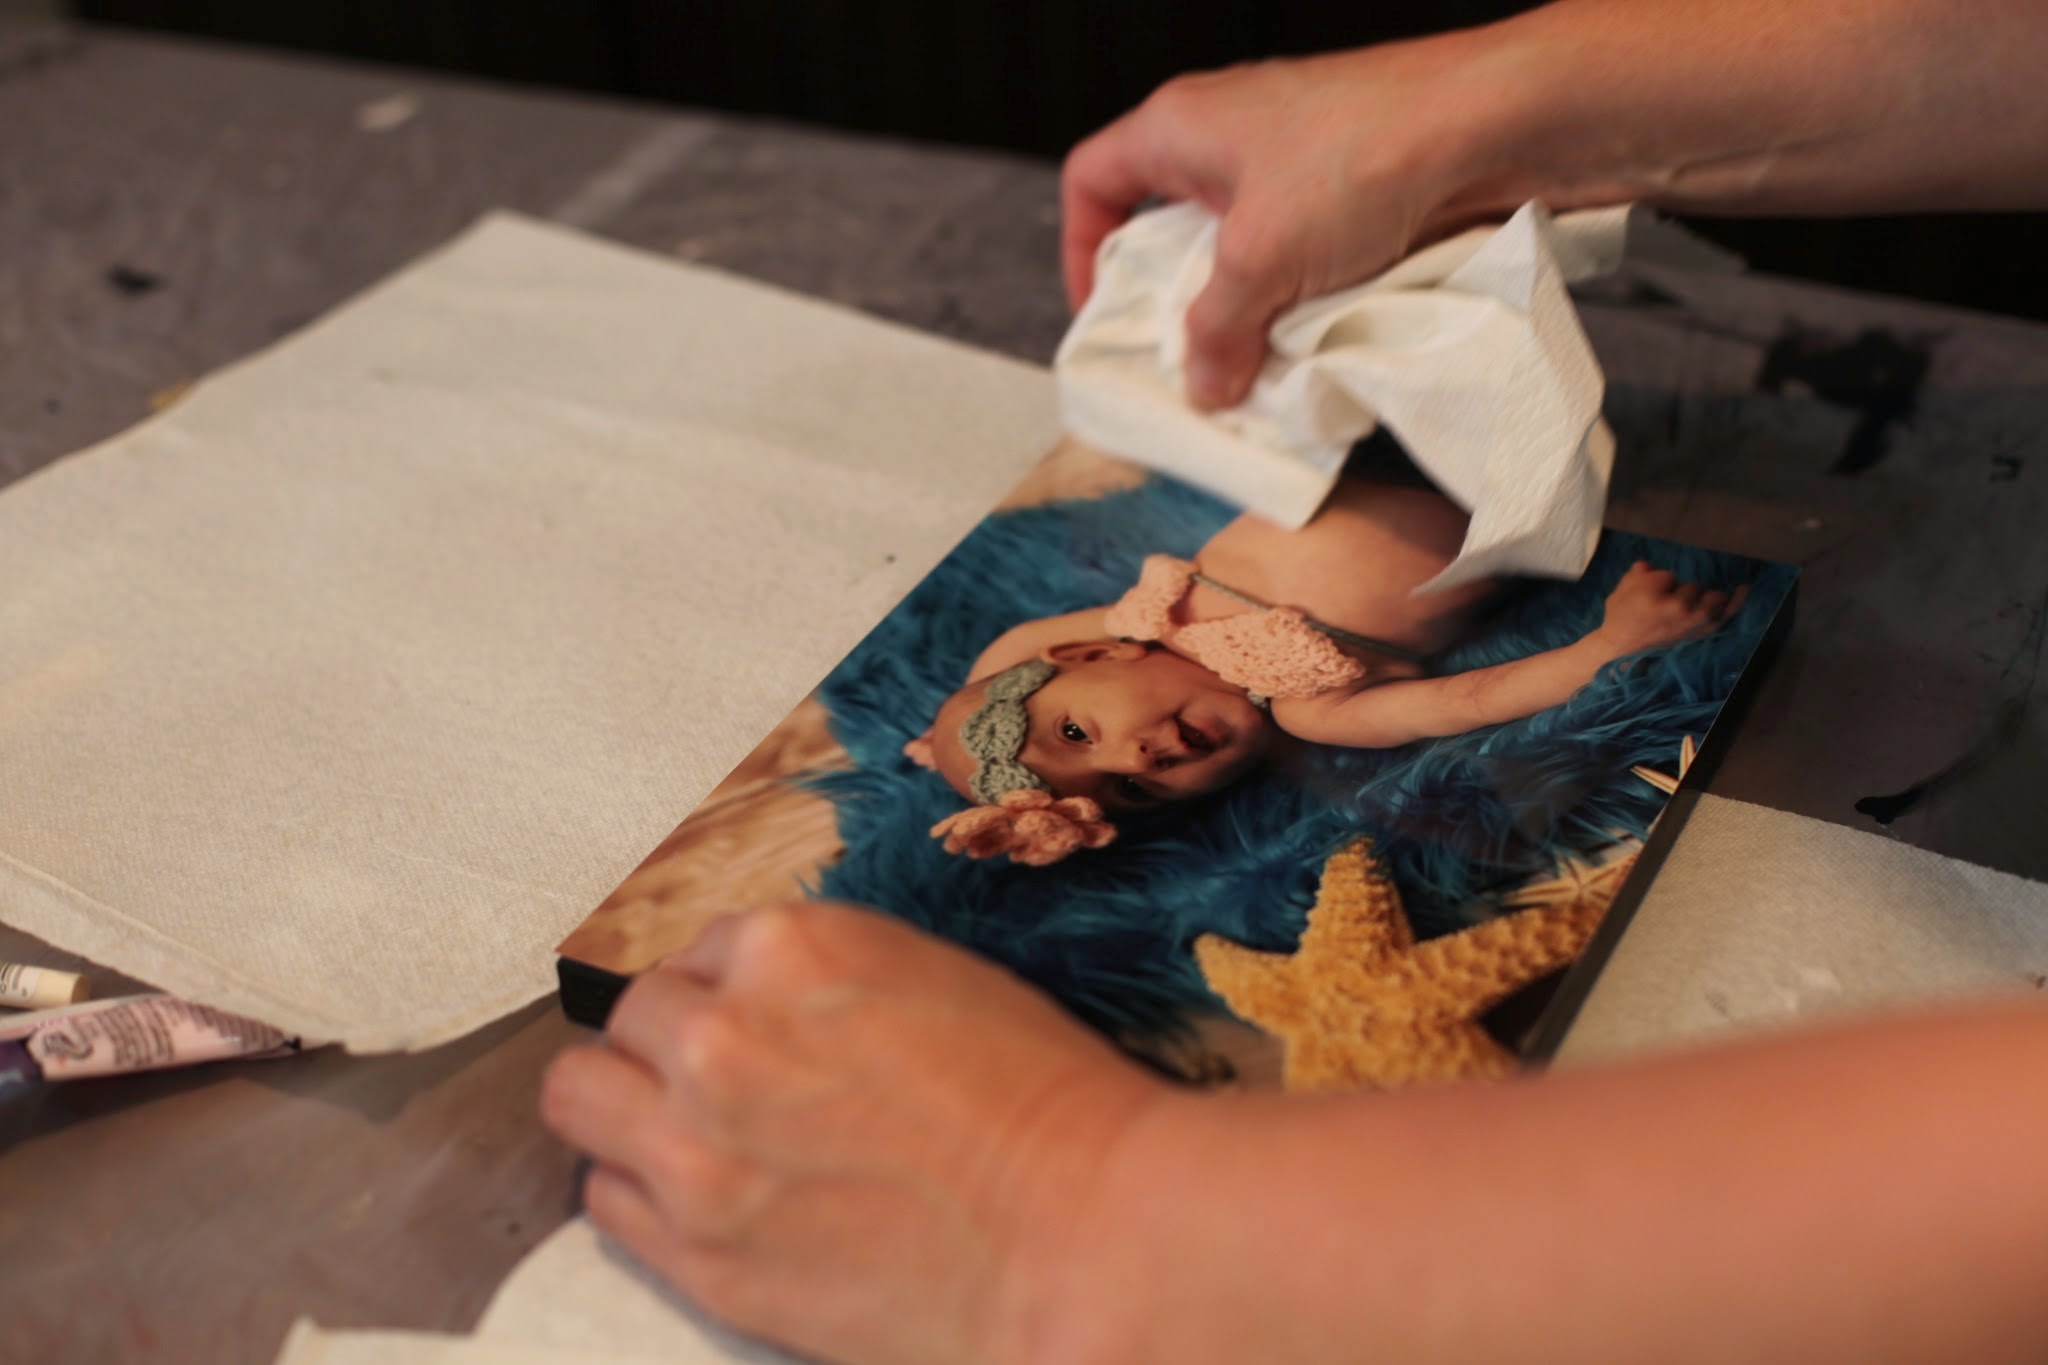
Step 7:
Place the picture onto the canvas and line up the
sides. Using either a credit card or
cell phone wrapped in a paper towel, run it over the picture using medium
pressure to get out any air bubbles.
Make sure to hold onto the print with the other hand, as it will be a
little slippery on the canvas. Let the
canvas dry for about ten minutes or until the picture is not sliding around anymore. We don't want the picture do slide around when we coat it with the Mod Podge.


Step 8:
After it is done drying, use a foam brush to Mod Podge the front of the picture. Make sure to use long, even strokes from top
to bottom as it will be noticeable if you stop partially through. Mod Podge is pretty forgiving IF you fix any
mistake right away. You don't necessarily want to put glob on the Pod Modge, but do make sure to get Mod Podge on the entire picture and not leave any dry spots, especially on the
face.


Step 9:
Let the Mod Podge dry and you’re all set! Have fun hanging your beautiful,
on-the-cheap, DIY canvas prints!

CREDITS:
Family photos taken by BIG Photography
https://www.facebook.com/pages/BIG-photography/244387065619234
A special thanks to the baby for assisting with the project:

Family photos taken by BIG Photography
https://www.facebook.com/pages/BIG-photography/244387065619234
A special thanks to the baby for assisting with the project:
This is amazing! I tried this before & it was a total fail! But the way you do it makes so much sense! Can't wait to get Mr. Podge out & get to work!!!
ReplyDelete